3.1 KiB
Personal image gallery
![]()
![]()
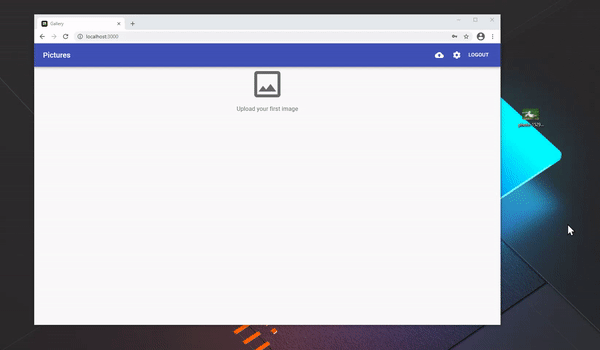
A simple to use, modern place to store your images. Perfect for storing large amounts of screenshots and screen recordings.
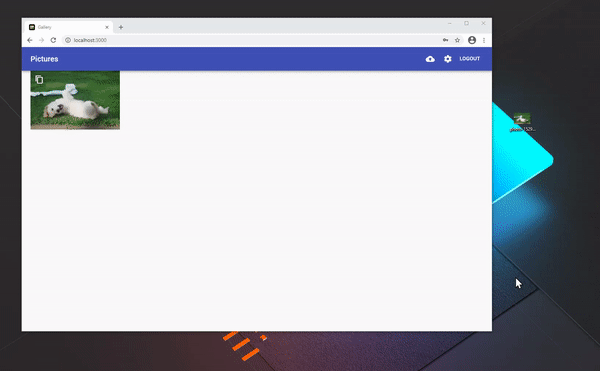
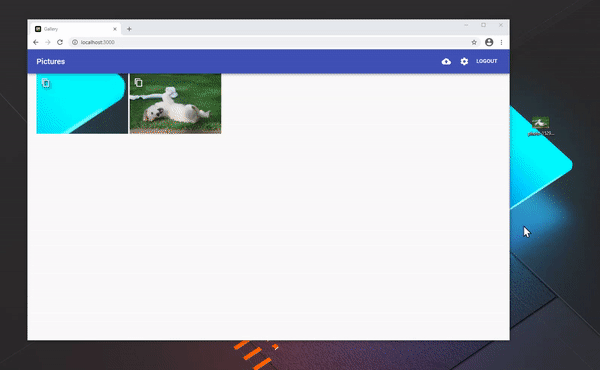
Uploading
After searching for a solution that would allow me to upload easily from every kind of device, I've decided to make my own. If you are using a relatively modern device, you probably can upload images from it.
Dialog
Click the upload icon and then click the upload area to trigger a system file pick dialog.
Drag-n-drop
Simply drag any file into the window, and the upload area should magically appear.
Paste
Got a screenshot in your clipboard, Ctrl-V and now you've got it online.
API
Want use your own uploader? You can. Get the API key, put it into the Authorization
header and that's it.
ShareX
While we're on the topic of APIs, if you're using ShareX you can simply get
a ready made custom uploader config.
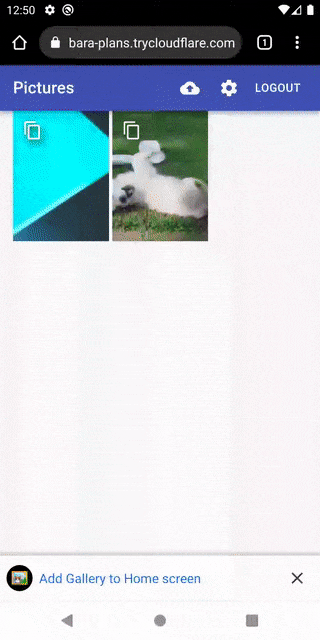
Android
Sharing on mobile is easier than ever thanks to the PWA Share Target APIs.
Installation
Docker (Reccommended)
The image is available on dockerhub, you can start with an example docker-compose below:
version: '3'
services:
  gallery:
    image: karasevm/personal-gallery-node
    ports:
      - 80:80
    volumes:
      - ./images:/images
      - ./db:/db
      - ./cache:/cache
    restart: unless-stopped
    environment:
      - CACHE_DIR=/cache
Environment Variables
All docker environment variables are optional
PORT - which port to listen on, by default set to 80
PROXY - express proxy settings, by default set to true
USERNAME and PASSWORD - used to reset user credentials, if set, all sessions and API key are invalidated
BASE_URL - base directory if app isn't in root
FULLS_AS_THUMBS - whether to use full size images as thumbnails (useful on slow servers with fast clients)
To use Redis instead of built-it memory cache:
REDIS_HOST - Redis host
REDIS_PASSWORD - Redis password
Or to store cache on disk :
CACHE_DIR - Cache directory
On bare machine
You'll need node 14+ and yarn to complete the build.
Copy the .env.example to .env, changing it according to your needs. In the root directory run yarn build then yarn start, if everything went well, you'll have the server running.
Develompent
Clone the repo, set the server environment with .env, install dependencies, start with yarn start-dev.
REST API documentation is available here
Contributing
Easiest way to contribute is to submit a translation, use ./packages/web/public/locales/en.json
as a template and submit a pull request with your language.